
Attendee settings control segmentation, visibility and enrollment constraints, and can be visible in profiles. They are important settings, and here's how you manage them:
Types
Types are a singular value that typically comes over from the EMS integration, if present. If not, you can add them here.

Attributes
Attendee attributes are used to power the attendee profile. There are two ways to create attendee attributes:
1 - When integrated, these come over from the core EMS. You should set up your attributes there. You may need to map the attributes to bring them over.
2 - When not integrated, set them manually. To set the attributes manually, click New Attribute Group, then go through the settings:

Settings - New Attendee Attribute
- Name - Give the attribute a name. Note that this will be visible in Profile.
- Parent Group - You can have parent-child attribute groups if you like. If so, select the parent group here.
- Show in Profile - Choose whether you want this to show in profile or not (usually yes).
- Value Type - Select (a pick list) or Text (a text field).
- Visible to Attendees - Choose whether it should show to attendees or not (usually yes). Note that you can use some filters as hidden ways to drive other behaviors.
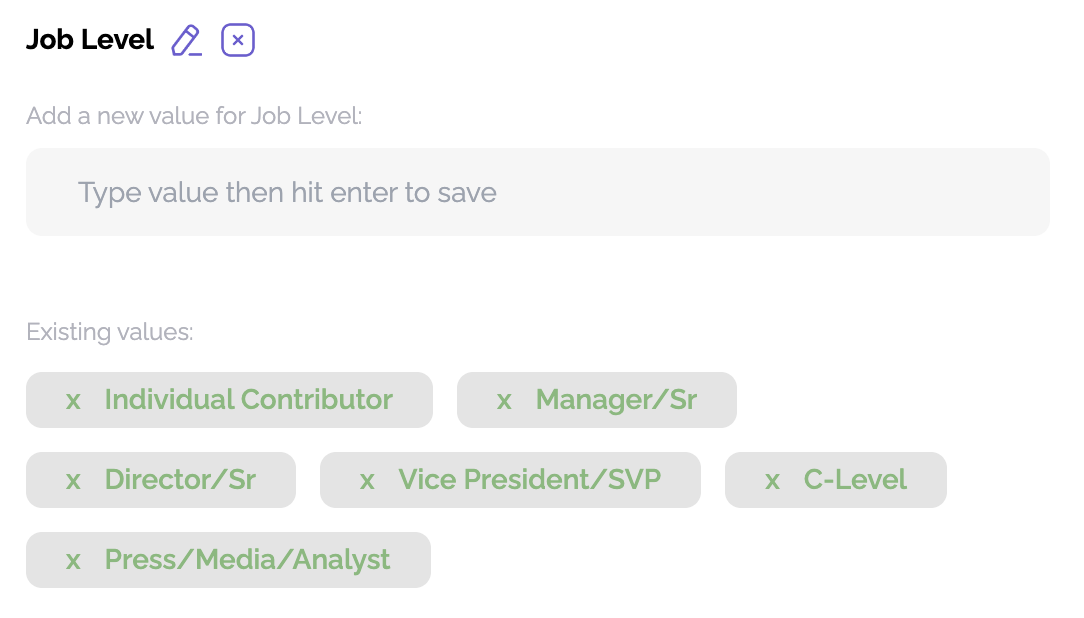
Once created, you simply add the values for the attribute and hit enter after each value, then save at the bottom of the form:
Note that you can set the order in which these appear in the library by clicking Toggle to Order Attributes.

Access
You can block entire groups from using the app, either by Type or Tag. Just select the type or tag to block, and those users will not be able to see your event.
